So, you want to add a dynamic ACF iFrame in Elementor.
That means pulling a custom URL from an ACF field and showing it inside an iFrame—automatically.
Maybe you’re running an online course. Every lesson needs to show a different video stored in a custom field. Whatever your use case, You can do it easily with the Custom iFrame for Elementor plugin by Coderz Studio.
Let’s walk through the steps.
Why You Should Use a Dynamic ACF iFrame in Elementor?
Dynamic content saves you time. You set it up once, and Elementor pulls the right link automatically for each post, page, or product. No copy-paste. No mistakes. If you ever update the URL in ACF, it updates everywhere.
Using a dynamic ACF iFrame in Elementor is perfect for:
- live preview or demo of every project inside an iframe
- Lesson videos for online courses
- Google Maps for business locations
- Embedded forms or dashboards
It’s clean, easy, and keeps your site flexible.
Use Custom iFrame Plugin to Add Dynamic ACF iFrame in Elementor
You don’t need any coding skills to make this work.
The Custom iFrame for Elementor plugin handles everything.
Here’s what you need to do.
Step 1: Install the Plugin
- In WordPress, go to Plugins > Add New
- Search for Custom iFrame by Coderz Studio
- Click Install and then Activate

Step 2: Create an ACF Field
- Install Secure Custom Filed plugin or as per your needs.
- Go to Custom Fields > Add New.
- Create a new field group.
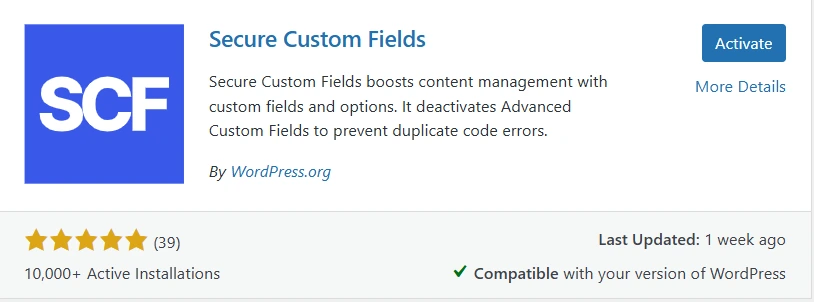
- Add a field with Field Type: URL.
- Name it something like
iframe_url. - Set rules to show it where you need (posts, pages, etc.).Publish the field group.
Step-by-Step: Set Up Your Dynamic iFrame in Elementor
Now the real fun starts.
Step 1: Edit Your Page or Single Post Template with Elementor in which you want to add the dynamic iFrame.
Step 2: Search for ‘Custom iFrame’ and drag the widget onto your page.
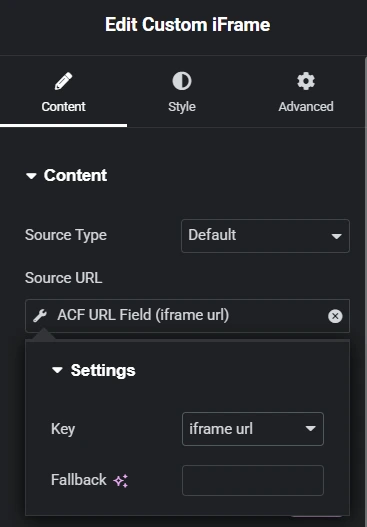
Step 3: Connect the iFrame to Your ACF Field.
- In the widget settings, find the Source field.
- Click the Dynamic Tags button next to it.
- Choose ACF Field.
- Under Key, select your custom field (e.g.,
iframe_url).
Step 4: Setup Height and Scrollbar
- Height Setup: When you’re working with dynamic iFrames, setting a flexible height like
100vhor enabling Auto Height ensures the frame adjusts perfectly to whatever content loads from your ACF field. - Scroll Bar Handling: If your dynamic content is tall, the Custom iFrame widget lets you control scroll bars, so your iFrame can either expand naturally or show a scroll only when needed.
And that’s it.
Now, every post or page will pull its iFrame link automatically from the ACF field.
Make Your Dynamic iFrame Look Good
Once your dynamic ACF iFrame is working, it’s time to make it look like it belongs on your page — clean, sharp, and responsive.
Here’s how you can style it easily with the Custom iFrame for Elementor plugin:
- Spacing (Padding, Width, Alignment): Used to control the breathing space and positioning of the dynamic iFrame inside the layout.
- Background Style: Helpful to highlight or visually separate the dynamic iFrame from the rest of the page.
- Border Style: Used to frame the iFrame content clearly and make it visually distinct.
- Box Shadow Style: Adds depth and makes the dynamic iFrame feel layered and more natural in the design.
- Mobile Responsiveness: Ensures the dynamic iFrame adapts smoothly across mobile, tablet, and desktop screens.

FAQ: Dynamic iFrame with ACF in Elementor
Final Thoughts
Adding a dynamic ACF iFrame in Elementor is easier than you think.
With the Custom iFrame for Elementor plugin, you don’t have to worry about coding or tricky setups.
You just build smarter pages—faster.
Tried it already? Have a question?
Drop a comment below! 👇 We’d love to hear how you’re using dynamic iFrames on your site.