With Custom iFrame plugin, you can embed JotForm in Elementor quickly and easily. Whether it’s a contact form, survey, registration form, or donation form. You can display it directly on your website without any complex setup.
Step 1: Install & Activate Custom iFrame Plugin🔌
Let’s start at square one — the classic WordPress plugin hustle:
- Jump into your WordPress dashboard.
- Head to Plugins > Add New.
- Search for “Custom iFrame by Coderz Studio” — we promise we’re cooler than the name sounds 😎.
- Click that ‘Install Now‘ button, then hit ‘Activate‘ like you’re launching a spaceship.
Boom. Plugin is live.

Step 2: Get the JotForm Link
- Open jotform.com > Navigate the Form you want to embed or Create new form.
- Click on ‘More” button > Click on “Publish Form” option.
- Click on “COPY LINK’ button.
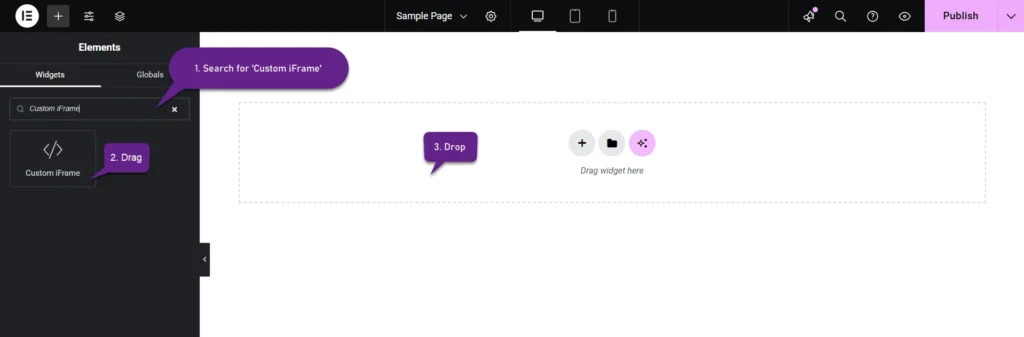
Step 3: Add the Custom iFrame Widget
- Open your page in Elementor Editor.
- Drag and drop that Custom iFrame widget right into the section where the JotForm should shine.
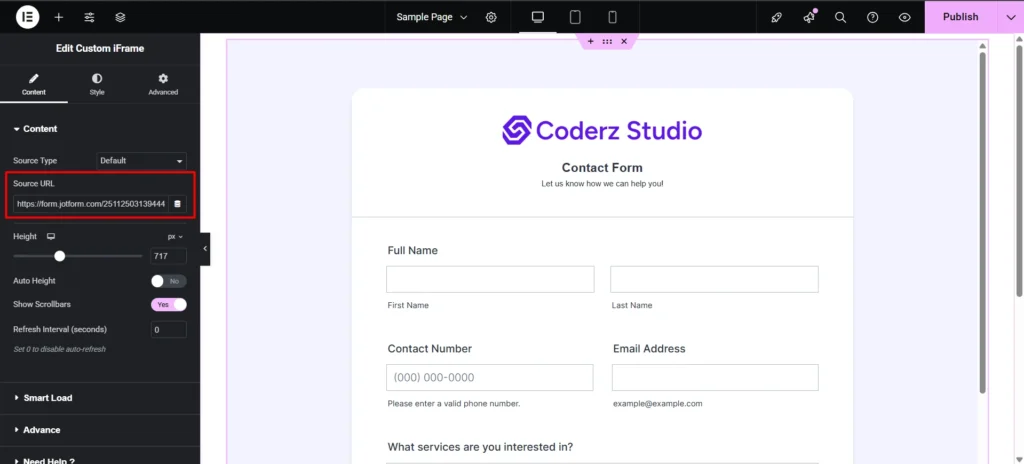
Step 4: Embed JotForm in Elementor
- Go to Content tab of widget.
- Into Source URL field, paste the JotForm URL.
Step 5: Customize & Configure Settings
For styling, smart loading, and advanced options, refer to our Complete Custom iFrame Widget Guide to fine-tune your JotForm embed in Elementor.
Step 6: Save & Publish
Click Update, and your JotForm is now live on your page! Your site visitors can now submit the form in your site.
That’s it! With Embed JotForm in Elementor using Custom iFrame, you can collect responses, leads, feedback or payment right from your site. It’s simple, clean, and works great on all devices. Got a form? Now you’ve got it on your website too!